Shell
The library also includes a command line interface and shell for converting files from a given extension to hdf5, as well as gif making capabilities for easy visualisation of the files.
Opening the Shell
If the install with pip worked perfectly, you can now type aertb in a terminal window and the Shell will open.
If you are installing it from Github: download you should download the project from github and follow the following
- instructions:
git clone ...
Create a virual environment, if venv is not installed run
pip install virtualenv,then
python3 -m venv aertb_env
Run
source aertb_env/bin/activate
Run the following command:
pip install -r requirements.txt
Open the shell with
python3 .or with the__main__.pyfile
Using the Shell
Once the Shell is open you get a a similar output on your terminal:
type help to see supported commands and help <topic> to get more info of the command
Examples
Creating an HDF5 out of a directory:
tohdf5 -f 'example_data/' -e 'dat' -o 'mytest.h5'
The recommended directory shape is
|--Parent
    |-- LabelClass1
        |-- SampleName1
        |-- SampleName2
        |-- ....
    |-- LabelClass2
        |-- SampleName1
        |-- SampleName2
        |-- ....
    |-- ...
And we suggest that train and test are kept as separate folders so they translate to two different files
Creating an HDF5 out of a single file:
tohdf5 -f 'example_data/bin/one/03263.bin' -o 'mytest2.h5'
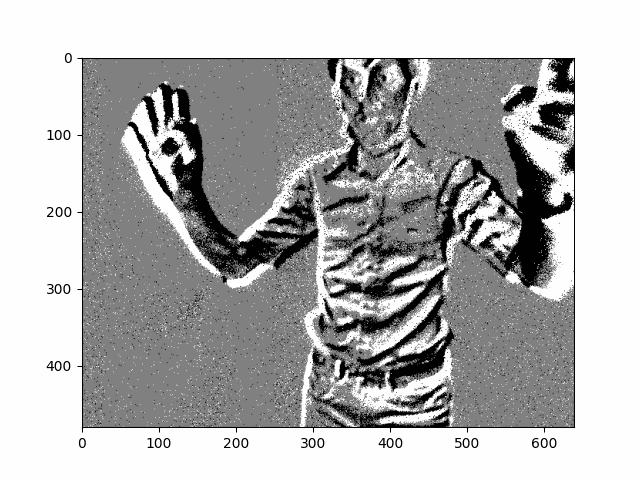
Creating a gif out of a given file:
makegif -f 'example_data/prophesee_dat/test_23l_td.dat' -o 'myGif.gif' -nfr 240 -g 'std'
Exiting the Shell
type
quitExit virtual environment:
$ deactivate